How to Make a Whitelist App: A Comprehensive Guide

In the evolving landscape of mobile technology and software development, creating a whitelist app is an essential process that enhances security and user experience. This article provides an in-depth guide on how to make a whitelist app, encompassing everything from initial concept to final implementation. Whether you're aiming to block unwanted content or permit only specific users or applications, a well-designed whitelist app can make a significant difference.
Understanding Whitelist Applications
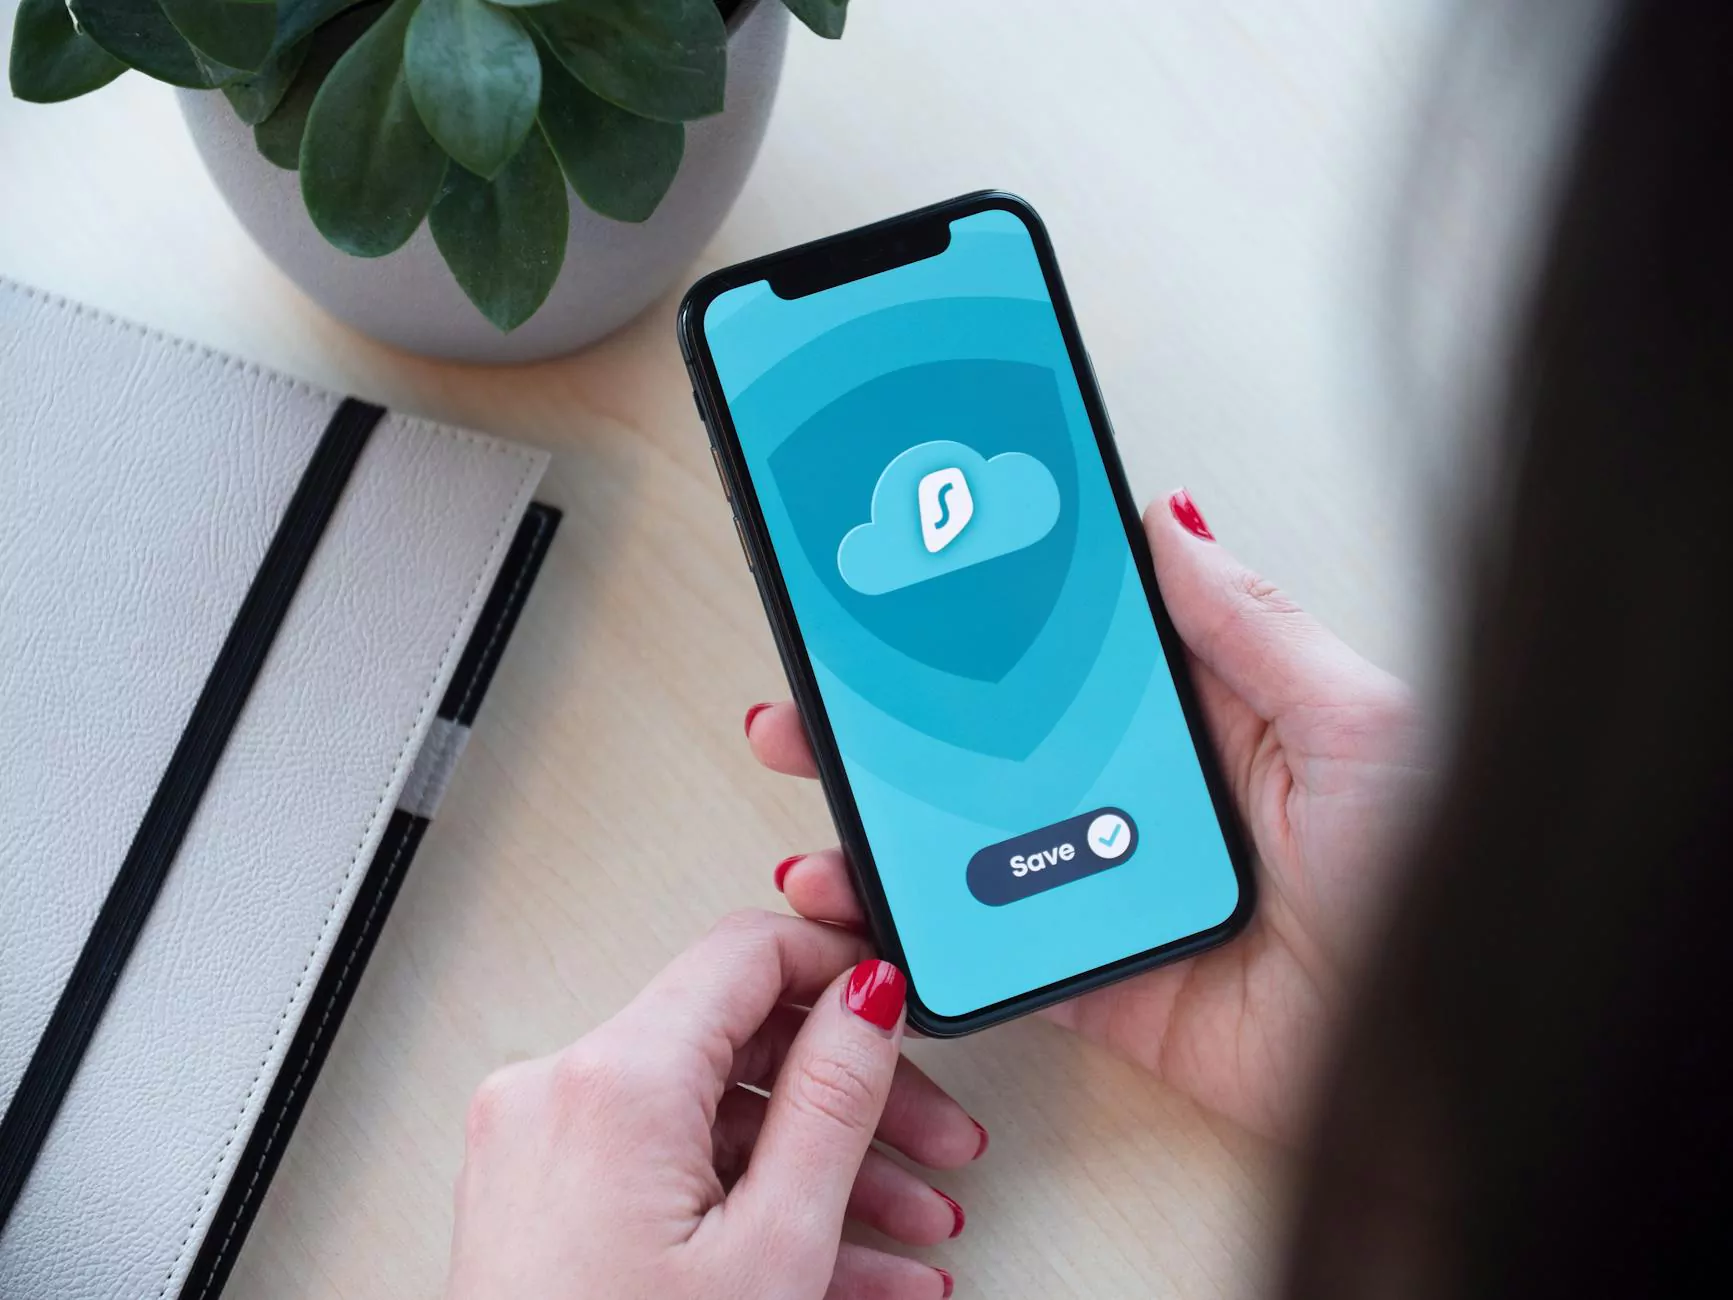
Before diving into the development process, it's crucial to understand what a whitelist application is. A whitelist app is a software solution that allows only selected entities—such as apps, users, or devices—while blocking everything else. This approach plays a vital role in enhancing security, especially in corporate environments where sensitive information needs protection.
Importance of Whitelisting
- Security: Whitelisting helps mitigate risks by preventing unauthorized applications or users from accessing a system.
- Control: Having a whitelist gives administrators control over which applications are used within an organization.
- User Experience: By allowing only trusted applications, whitelisting can streamline user experience and improve productivity.
- Compliance: Many businesses are required to comply with industry standards that necessitate the use of whitelisting to secure sensitive data.
Step-by-Step Guide: How to Make a Whitelist App
Creating a whitelist app involves several stages, from defining the app's goals to the actual coding and deployment. Here’s a comprehensive guide on how to make a whitelist app.
Step 1: Define Your Goals
Every successful application begins with a clear understanding of its purpose. When considering how to make a whitelist app, define what you want to accomplish:
- Are you aiming to protect networks from malicious software?
- Do you want to limit access to specific applications for employees?
- Is your goal to create a safe browsing environment for children?
Identifying the primary objectives will guide the development process and ensure the app meets user needs effectively.
Step 2: Research and Analysis
Next, conduct thorough research on existing whitelist apps. Analyze their features, user reviews, and functionality. This will help you identify gaps in the market and understand what users appreciate or dislike about current options. Focus on:
- Features that enhance usability
- Common pain points users experience
- Security measures implemented in top-performing apps
Step 3: Plan Your Features
Based on your research, create a list of features you want to include in your whitelist app. Some essential features may include:
- User Authentication: Ensure that only authorized users can modify the whitelist.
- Application Tracking: Implement functionality to track applications being used on the device.
- Dynamic Whitelist Management: Allow users to easily add or remove applications from the whitelist.
- Reporting and Analytics: Offer insights into usage patterns and security threats.
- Alert Notifications: Notify users of any unauthorized attempt to access blocked apps.
Document these features in a detailed specification, which will serve as a roadmap throughout the development process.
Step 4: Design the User Interface
The user interface (UI) is critical for ensuring a positive user experience. A clean, intuitive design will make it easier for users to manage the whitelist effectively. Consider the following principles:
- Simplicity: Avoid clutter; focus on essential features.
- Navigation: Implement straightforward navigation to enhance user engagement.
- Accessibility: Design for all users, ensuring it's easy to use regardless of technical expertise.
- Responsive Design: Ensure your app is functional across various devices and screen sizes.
Use mockup tools to visualize your design before moving on to development.
Step 5: Develop the Application
With your design and specifications in hand, it's time to begin the actual development of your whitelist application. Choose a suitable programming language and framework based on your target platform, such as:
- For Android: Java or Kotlin
- For iOS: Swift or Objective-C
- For Web App: JavaScript with frameworks like React or Angular
If you're not a developer, consider hiring a seasoned team to bring your vision to life. During development, focus on coding best practices, including:
- Utilizing modular code for easier maintenance.
- Conducting regular testing to catch bugs early.
- Documenting your code for future reference.
Step 6: Testing and Quality Assurance
Once development is complete, it's time for thorough testing. Aim to identify any functionality issues or bugs that need fixing. Focus on:
- Unit Testing: Test individual components for proper functionality.
- Integration Testing: Verify that different modules interact correctly.
- User Acceptance Testing (UAT): Have real users test the app to gather feedback and assess usability.
Implement any necessary changes based on testing outcomes to ensure a polished final product.
Step 7: Deployment
Deploying your whitelist app involves making it accessible to your target audience. Choose the appropriate platforms for launch, whether it's the Google Play Store, Apple App Store, or a web application available for download. Ensure you promote your app effectively and consider the following:
- Marketing Strategy: Develop a marketing plan that highlights the unique features of your application.
- SEO Optimization: Optimize your app listing with relevant keywords to enhance visibility.
- User Support: Set up a support system to assist users with issues and to gather feedback for future improvements.
Step 8: Gather Feedback and Improve
Post-launch, actively seek user feedback through surveys or app reviews. Listen to their insights and make necessary updates or improvements. Regular updates not only enhance functionality but also show users that you are committed to providing a great experience. Incorporate features that users request and fix any bugs reported promptly.
Best Practices When Making a Whitelist App
While going through the steps of how to make a whitelist app, keep the following best practices in mind to ensure quality and effectiveness:
- Security First: Always prioritize security features within your application.
- User-Centric Design: Maintain a focus on the user’s needs and simplify processes as much as possible.
- Regular Updates: Regularly update your app to address issues and introduce new features based on user feedback.
- Documentation: Maintain comprehensive documentation for users and for future development scenarios.
- Community Engagement: Engage with your user community to build loyalty and encourage word-of-mouth promotion.
Conclusion
Creating a whitelist app requires careful planning, execution, and continuous improvement. By understanding your goals and following these detailed steps on how to make a whitelist app, you can develop a robust solution that enhances security and user experience. At Nandbox, we believe in empowering developers and businesses to create effective applications that meet user demands. Start your journey today and innovate within the realm of software development!